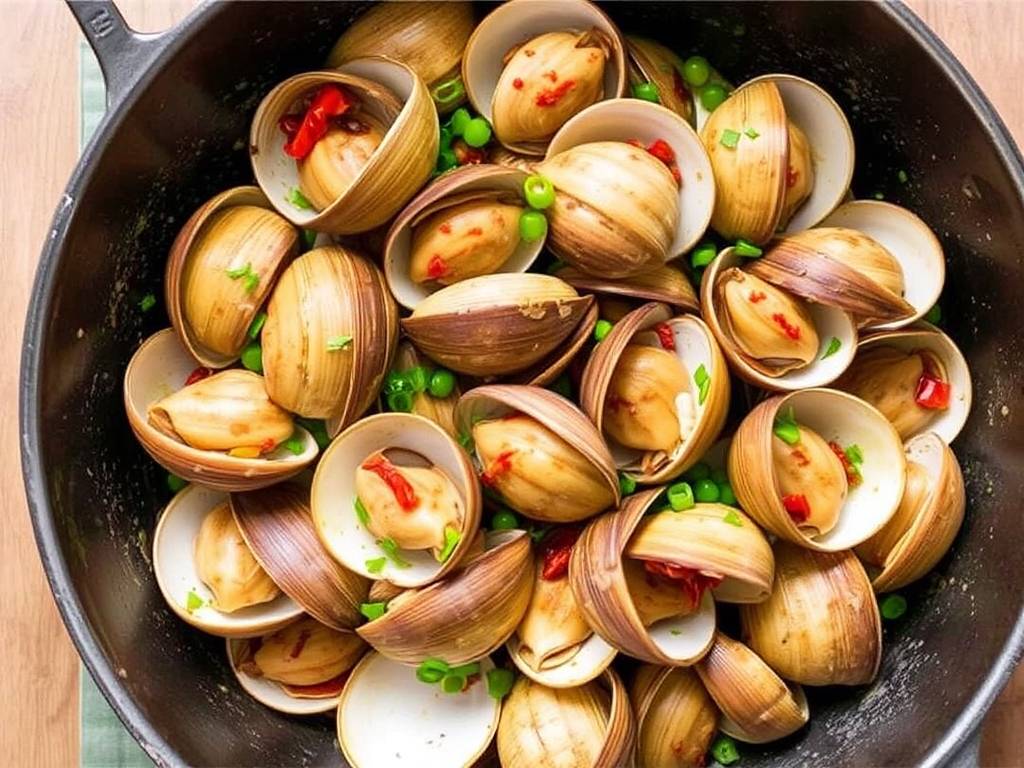
The Ultimate Guide to Mastering Garlic and Chili Shrimp at Home
There's something magical about the sizzle of shrimp hitting a hot pan, the aromatic dance of garlic in the air, and the gentle heat of chili that promises a flavorful adventure. If you've ever wondered how to recreate that perfect restaurant-style shrimp dish in your own kitchen, you've come to the right place. This guide is your comprehensive roadmap to mastering the art of cooking shrimp with garlic and chili sauce, a dish that is deceptively simple yet incredibly impressive.
Let's start by demystifying the star of the show: the shrimp. The key to succulent, not rubbery, shrimp lies in the preparation. Always opt for raw shrimp, preferably fresh or thawed from frozen. I highly recommend using large or jumbo shrimp for this recipe, as they stand up better to the high-heat cooking and provide a more satisfying bite. The first non-negotiable step is to properly devein and pat them completely dry. Moisture is the enemy of a good sear, and we want our shrimp to caramelize, not steam.

Now, for the marinade. This is where we build the foundation of flavor. In a bowl, toss your dried shrimp with a tablespoon of olive oil, a pinch of salt, and a half-teaspoon of black pepper. Some recipes call for a splash of rice wine or sherry, which adds a lovely depth, but it's optional. Let them sit for just 15-20 minutes at room temperature. Marinating for too long, especially with acid, can start to "cook" the shrimp and make them tough.
While the shrimp are marinating, we can craft the soul of this dish—the iconic garlic and chili sauce. This is more than just mixing a few ingredients; it's about building a harmonious sauce where no single flavor overpowers the others. You will need:
- The Aromatic Base: Mince 6-8 cloves of fresh garlic. Yes, it might seem like a lot, but garlic is the co-star here. For the chili element, you have options based on your heat preference. You can use 1-2 tablespoons of crushed red pepper flakes, 1-2 finely chopped fresh red chilies (like Fresno or Thai bird's eye for more heat), or even a tablespoon of gochujang (Korean chili paste) for a different kind of savory heat.
- The Sauce Mixture: In a small bowl, whisk together 3 tablespoons of soy sauce (or tamari for a gluten-free version), 2 tablespoons of honey (or brown sugar), 1 tablespoon of rice vinegar, and 2 tablespoons of chicken or vegetable broth. This combination gives us the perfect balance of salty, sweet, tangy, and umami. A teaspoon of cornstarch mixed into this liquid is our secret weapon for creating a glossy, restaurant-quality sauce that clings beautifully to every shrimp.
Now, let's talk about the cooking process, which is a fast and furious affair. Have all your ingredients measured, chopped, and within arm's reach. This is a stir-fry, and there's no time to search for that bottle of soy sauce once you start.
-
The Sear: Heat a large skillet or wok over medium-high heat until it's very hot. Add a tablespoon of a high-smoke-point oil like avocado or vegetable oil. Swirl to coat the pan. Add the shrimp in a single layer, ensuring they aren't crowded. This is crucial for getting a good sear. Cook for just 60-90 seconds per side, until they turn pink and opaque. They don't need to be fully cooked through at this stage. Immediately remove them from the pan and set them aside. Overcooking is the most common mistake, so be swift!
")
-
Building the Sauce: In the same pan, reduce the heat to medium. You should have those delicious browned bits from the shrimp left behind—that's pure flavor. Add another tablespoon of oil if needed, and then toss in your minced garlic and chosen chili. Stir constantly for just 30-60 seconds until fragrant. You want the garlic to be golden and aromatic, not burnt, as burnt garlic will turn the entire dish bitter.
-
The Grand Finale: Give your prepared sauce mixture another quick whisk (the cornstarch may have settled) and pour it into the pan. It will immediately start to bubble and thicken. Once the sauce is simmering and has visibly thickened, which should take just a minute, return the seared shrimp and any accumulated juices back to the pan. Toss everything together vigorously for another 30-60 seconds, just until the shrimp are coated and heated through. The residual heat will finish cooking them perfectly.
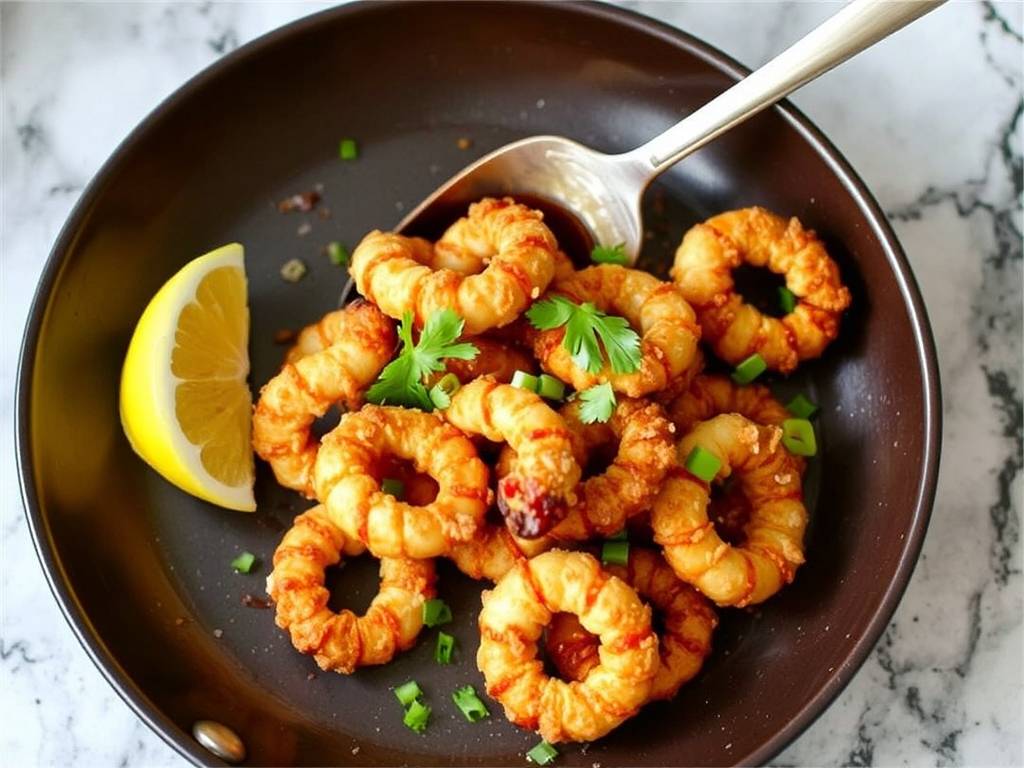
And there you have it! Your stunning garlic and chili shrimp is ready. The final touch is a sprinkle of freshly chopped scallions and a drizzle of toasted sesame oil for a nutty finish.
This dish is incredibly versatile. Serve it over a bed of steamed jasmine rice to soak up every last drop of that glorious sauce, with cauliflower rice for a low-carb option, or alongside some quick-steamed broccoli and snap peas for a complete, healthy meal. It’s a perfect quick weeknight dinner that feels gourmet, or an impressive dish for entertaining guests.
For those looking to explore, this recipe is a fantastic base for customization. Consider adding a teaspoon of freshly grated ginger with the garlic for an extra zing. A tablespoon of tomato paste cooked with the garlic and chili can add a rich, slightly sweet undertone. For a "drunken" version, a tablespoon of Chinese cooking wine added after toasting the garlic and chili will add incredible complexity.
By following these detailed steps, you are not just following a recipe; you are understanding the why behind each action. This knowledge empowers you to cook with confidence and consistently produce a plate of garlic and chili shrimp that is bursting with flavor, has the perfect texture, and will have everyone asking for your secret. So go ahead, tie that apron, and get ready to create something truly delicious. Your kitchen is about to become your new favorite restaurant.
发表评论