How to Make Yogurt Drops: A Simple and Healthy Treat
Yogurt drops are a delightful, nutritious snack that can be enjoyed by both children and adults. They are incredibly easy to make, requiring only a few simple steps and minimal ingredients. The process involves using yogurt, dropping it onto a tray, and freezing it until it hardens. This article will guide you through the entire process, offering tips, variations, and insights into why yogurt drops are not only delicious but also a healthy alternative to many store-bought snacks.
Why Yogurt Drops?
Yogurt drops are a versatile treat that can be customized to suit various tastes and dietary needs. They are an excellent source of probiotics, calcium, and protein, making them a healthy option for those looking to satisfy their sweet tooth without resorting to sugary snacks. Additionally, they are perfect for hot summer days, providing a cool and refreshing bite. Whether you are a parent looking for a kid-friendly snack or an adult seeking a light dessert, yogurt drops are an ideal choice.
Ingredients and Equipment
Before diving into the process, it is essential to gather all the necessary ingredients and equipment. The beauty of this recipe lies in its simplicity.

Ingredients:
- Yogurt: The star of the show. You can use any type of yogurt—Greek yogurt for a thicker consistency, regular yogurt for a lighter treat, or even dairy-free alternatives like almond or coconut yogurt for those with dietary restrictions. For a healthier option, choose plain yogurt without added sugars, but feel free to use flavored yogurt if you prefer a sweeter taste.
- Optional Add-ins: While yogurt alone is sufficient, you can enhance the flavor and nutritional value by adding honey, maple syrup, vanilla extract, or even pureed fruits like strawberries or blueberries. For a crunchy texture, consider mixing in granola or chia seeds.
Equipment:
- Baking Tray or Sheet: Any flat tray will work, but a baking sheet lined with parchment paper or a silicone mat is ideal for easy removal.
- Piping Bag or Ziplock Bag: This will help you create uniform drops. If you don’t have a piping bag, a spoon can be used, though the drops may not be as consistent in size.
- Freezer: Essential for hardening the drops.
Step-by-Step Instructions
Step 1: Prepare the Yogurt
Start by selecting your yogurt. If you are using plain yogurt, you may want to sweeten it slightly. Add a tablespoon of honey or maple syrup and mix thoroughly. If you are incorporating fruits, puree them first and then blend them into the yogurt. For a smoother consistency, you can strain Greek yogurt through a cheesecloth to remove excess whey, resulting in a thicker mixture that will hold its shape better when dropped.
Step 2: Set Up the Tray
Line a baking tray with parchment paper or a silicone mat. This prevents the yogurt drops from sticking to the tray and makes cleanup easier. Ensure that the tray fits in your freezer; if space is limited, you may need to use multiple smaller trays.
Step 3: Drop the Yogurt
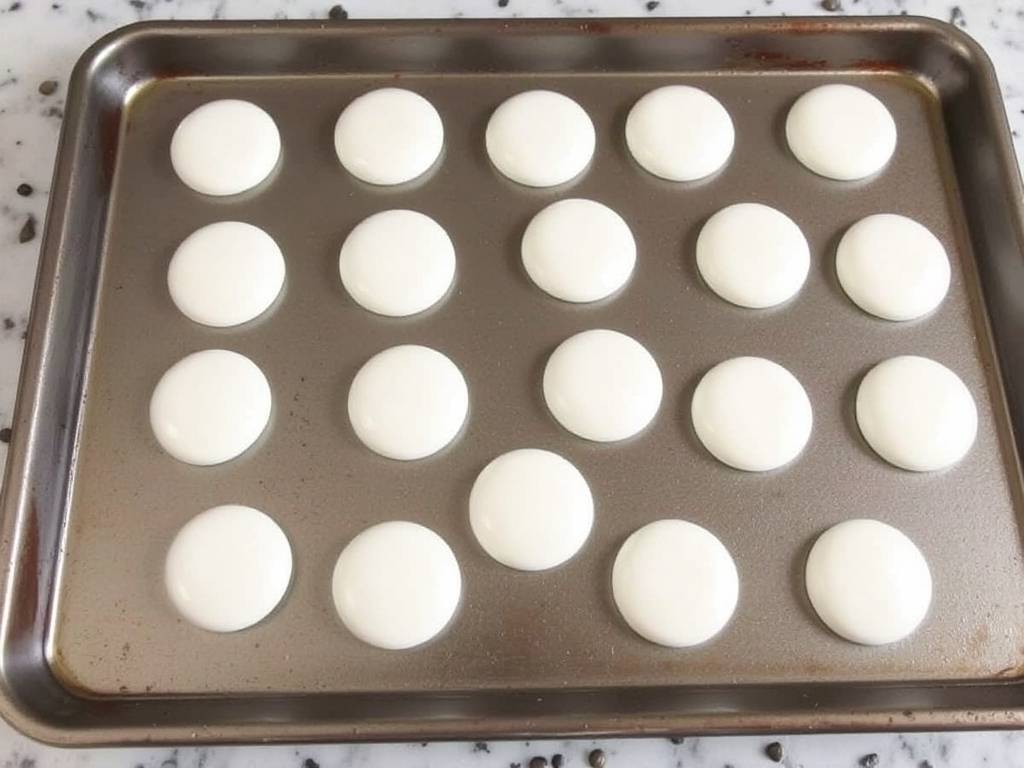
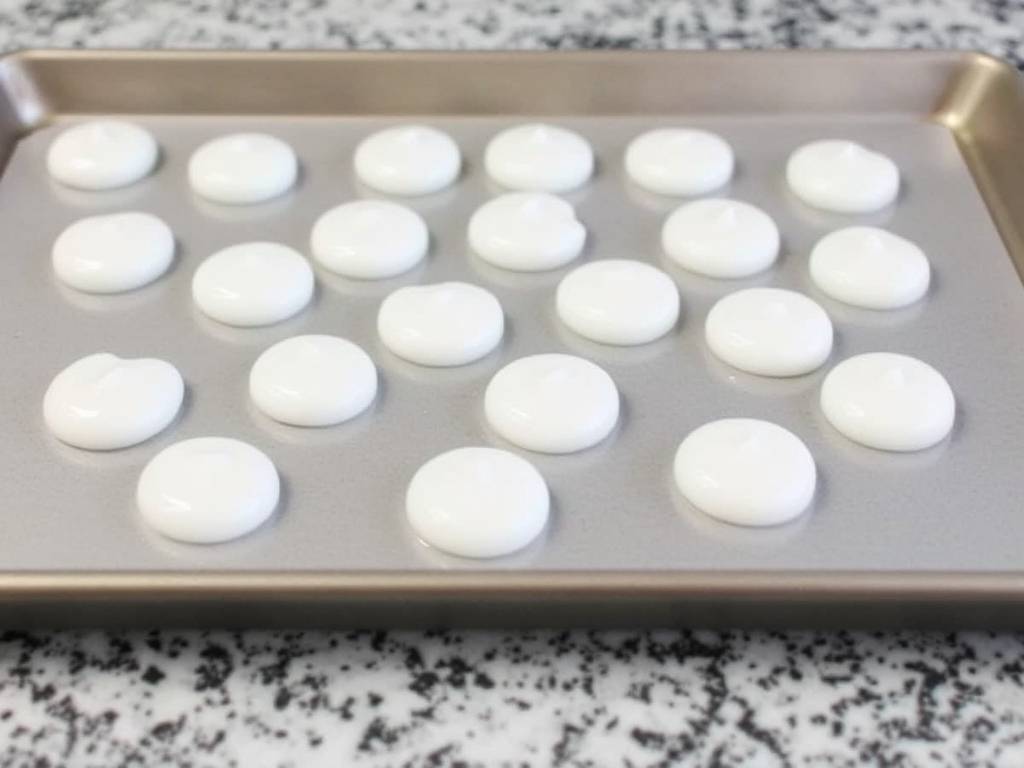
Transfer the yogurt mixture into a piping bag or a Ziplock bag. If using a Ziplock bag, snip off a small corner to create a makeshift piping bag. Squeeze small dollops of yogurt onto the prepared tray, spacing them about an inch apart to prevent them from merging together during freezing. The size of the drops can vary based on your preference—smaller drops are perfect for bite-sized snacks, while larger ones can be more satisfying.

Step 4: Freeze Until Hard
Place the tray in the freezer and let the yogurt drops freeze completely. This typically takes 2-3 hours, depending on the size of the drops and your freezer’s temperature. To ensure they are fully hardened, leave them in the freezer for at least 4 hours. Once frozen, the drops should be firm to the touch and easy to peel off the parchment paper.
Step 5: Storage
Once the yogurt drops are frozen, transfer them to an airtight container or a freezer-safe bag. They can be stored in the freezer for up to two months. This makes them a convenient make-ahead snack that you can enjoy whenever the craving strikes.
Variations and Creative Ideas
One of the best aspects of yogurt drops is their versatility. Here are some creative variations to try:
- Layered Drops: Create two-tone drops by layering different flavors of yogurt. For example, drop a small amount of strawberry yogurt, let it freeze for 30 minutes, then add a layer of vanilla yogurt on top before freezing completely.
- Chocolate-Coated: For an indulgent twist, melt some dark chocolate and drizzle it over the frozen yogurt drops. Return them to the freezer for a few minutes to set the chocolate.
- Nutty Crunch: Sprinkle crushed nuts, such as almonds or pistachios, onto the yogurt drops before freezing. This adds a delightful crunch and extra nutrients.
- Energy Bites: Mix in rolled oats, flax seeds, and a touch of cinnamon for a yogurt drop that doubles as an energy bite.
Health Benefits
Yogurt drops are not just tasty; they are also packed with health benefits. Yogurt is rich in probiotics, which promote a healthy gut microbiome. It is also an excellent source of calcium, essential for strong bones and teeth, and protein, which helps keep you full and satisfied. By making your own yogurt drops, you control the ingredients, avoiding artificial additives and excessive sugars often found in commercial snacks.
For those with dietary restrictions, yogurt drops can easily be adapted. Use dairy-free yogurt for a vegan version, or opt for low-fat yogurt if you are watching your calorie intake. The addition of fruits and nuts further enhances the nutritional profile, providing vitamins, minerals, and healthy fats.
Serving Suggestions
Yogurt drops can be enjoyed in numerous ways. They make a great standalone snack, but they can also be used to elevate other dishes. Here are a few ideas:
- Breakfast Bowl Topping: Sprinkle yogurt drops over your morning oatmeal or cereal for a burst of flavor and texture.
- Smoothie Addition: Add a handful of frozen yogurt drops to your smoothie for a creamy, cold element.
- Dessert Garnish: Use them as a garnish for ice cream, cakes, or parfaits.
- Kids’ Lunchbox Treat: Pack them in lunchboxes for a healthy and fun treat that kids will love.
Troubleshooting Tips
While making yogurt drops is straightforward, here are some common issues and how to avoid them:
- Sticking to the Tray: If the drops are sticking, ensure you are using parchment paper or a silicone mat. If you don’t have either, lightly grease the tray with coconut oil.
- Uneven Drops: If using a spoon, the drops may not be uniform. A piping bag helps create consistent sizes.
- Melting Quickly: Yogurt drops can melt fast at room temperature, so serve them immediately after removing from the freezer or enjoy them straight from the freezer.
Conclusion
Making yogurt drops is a simple, fun, and rewarding process. With just yogurt, a tray, and a freezer, you can create a healthy and delicious treat that suits your taste preferences. Whether you enjoy them as a snack, dessert, or addition to other dishes, yogurt drops are a versatile option that everyone can enjoy. So next time you have some yogurt on hand, why not try making these frozen delights? Your taste buds—and your body—will thank you.


发表评论