How to Make Mini Quiches: Egg & Cheese, Bake in Muffin Tin
Mini quiches are the perfect bite-sized treats that combine the rich, savory flavors of a classic quiche with the convenience of individual portions. Whether you're hosting a brunch, preparing a quick breakfast, or looking for an elegant appetizer, these egg and cheese mini quiches baked in a muffin tin are sure to impress. Not only are they delicious, but they are also incredibly versatile and easy to customize. In this article, we'll walk through everything you need to know to create these delightful mini quiches from scratch.
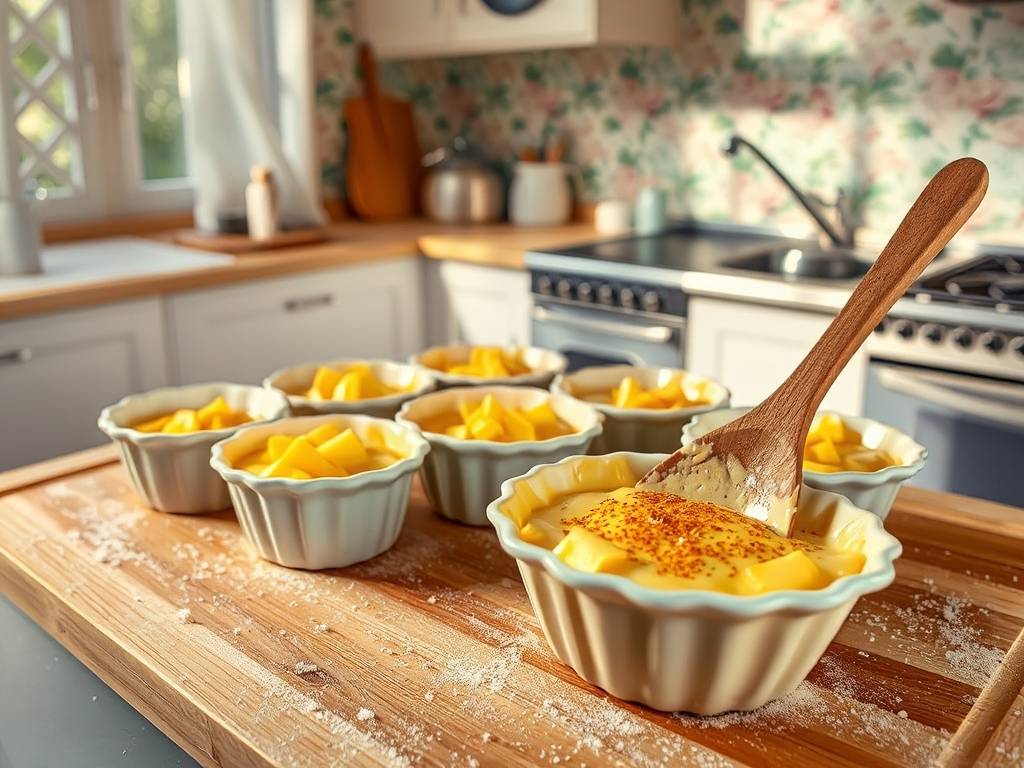
Why Mini Quiches?
Mini quiches are a fantastic addition to any meal for several reasons. First, their small size makes them ideal for serving at parties or gatherings where guests can enjoy them without the need for plates and utensils. Second, they are incredibly adaptable. You can experiment with various fillings, cheeses, and crust options to suit your taste or dietary preferences. Finally, they are freezer-friendly, meaning you can make a large batch ahead of time and reheat them whenever you need a quick and satisfying meal.
Ingredients You'll Need
To make classic egg and cheese mini quiches, you'll need the following ingredients:

For the Crust:
- 1 ½ cups all-purpose flour
- ½ teaspoon salt
- ½ cup unsalted butter, cold and cubed
- 4-5 tablespoons ice water
For the Filling:
- 6 large eggs
- ½ cup whole milk or heavy cream
- 1 cup shredded cheese (cheddar, Gruyère, or a blend of your choice)
- ½ teaspoon salt
- ¼ teaspoon black pepper
- Optional add-ins: cooked bacon, sautéed onions, spinach, mushrooms, or herbs like chives or parsley
Equipment:
- A standard 12-cup muffin tin
- Rolling pin
- Mixing bowls
- Whisk
- Measuring cups and spoons
Step-by-Step Instructions
Step 1: Prepare the Crust
The foundation of a great mini quiche is a flaky, buttery crust. While you can use store-bought pastry to save time, making your own is surprisingly simple and worth the effort.
- In a large mixing bowl, combine the flour and salt. Add the cold, cubed butter and use a pastry cutter or your fingers to work the butter into the flour until the mixture resembles coarse crumbs.
- Gradually add the ice water, one tablespoon at a time, mixing until the dough just comes together. Be careful not to overwork the dough.
- Form the dough into a disk, wrap it in plastic wrap, and refrigerate for at least 30 minutes. This allows the gluten to relax and makes the dough easier to roll out.
Step 2: Roll Out the Dough and Line the Muffin Tin
- Preheat your oven to 375°F (190°C).
- Lightly flour your work surface and rolling pin. Roll out the chilled dough to about ⅛-inch thickness.
- Using a round cutter or a glass slightly larger than the muffin cups, cut out circles of dough. Gently press each circle into the muffin tin, ensuring the dough reaches the bottom and sides of each cup. If the dough tears, simply patch it with your fingers.
- Prick the bottom of each crust with a fork to prevent it from puffing up during baking. You can also blind bake the crusts for 5-7 minutes for extra crispiness, though this is optional.
Step 3: Prepare the Filling
- In a medium bowl, whisk together the eggs, milk (or cream), salt, and pepper until well combined and slightly frothy.
- Stir in the shredded cheese and any optional add-ins you desire. For a classic egg and cheese quiche, you can keep it simple or add ingredients like cooked bacon or sautéed vegetables for extra flavor.
Step 4: Assemble and Bake
- Evenly distribute the filling mixture among the prepared crusts in the muffin tin, filling each about ¾ full. Be careful not to overfill, as the quiches will rise slightly during baking.
- Place the muffin tin in the preheated oven and bake for 20-25 minutes, or until the edges of the crust are golden brown and the filling is set. You can test for doneness by inserting a toothpick into the center of a quiche; it should come out clean.
- Allow the mini quiches to cool in the tin for 5-10 minutes before carefully removing them. Use a butter knife or small offset spatula to gently loosen the edges if needed.
Customization Ideas
One of the best things about mini quiches is how easy they are to customize. Here are a few ideas to inspire your next batch:
- Vegetarian Option: Load them with spinach, mushrooms, bell peppers, and feta cheese.
- Meat Lover's Delight: Add cooked and crumbled sausage, ham, or bacon.
- Dairy-Free: Use a plant-based milk and cheese alternative, and substitute the butter in the crust with a vegan option.
- Crustless: For a low-carb version, skip the crust altogether and grease the muffin tin well before adding the filling.
Serving and Storage
Mini quiches are best served warm, but they are also delicious at room temperature, making them ideal for buffets or picnics. If you have leftovers, store them in an airtight container in the refrigerator for up to 3 days. To reheat, simply place them in a preheated oven at 350°F (175°C) for about 10 minutes, or until warmed through.
You can also freeze mini quiches for longer storage. Allow them to cool completely, then place them in a single layer on a baking sheet to freeze before transferring to a freezer-safe bag or container. They can be reheated directly from frozen in the oven for 15-20 minutes.
Conclusion
Making mini quiches at home is a rewarding experience that yields delicious results. With a flaky crust, a creamy egg and cheese filling, and endless possibilities for customization, these little bites are sure to become a favorite in your household. So grab your muffin tin and get ready to impress your family and friends with these delightful mini quiches!

发表评论