The Art of Crafting Perfect Pretzels: A Step-by-Step Guide to Dough, Boiling, and Baking
Introduction
The pretzel, with its distinctive knot shape and glossy, mahogany-brown crust, is one of the world's most recognizable baked goods. Originating in Europe centuries ago, this humble snack has evolved into an American staple, particularly associated with sporting events and street vendors. What sets pretzels apart from other breads is their unique preparation process: a special dough is shaped, briefly boiled in alkaline water, and then baked to perfection. This triple-step method creates the pretzel's characteristic chewy texture and deep flavor that simple baking cannot achieve.
While store-bought pretzels offer convenience, homemade versions provide unparalleled freshness and allow for customization. The process may seem intimidating at first, but with proper guidance, anyone can master the art of pretzel-making. This comprehensive guide will walk you through each stage, from mixing the dough to the final bake, ensuring you achieve bakery-quality results in your own kitchen.
Understanding the Science Behind Pretzels
Before diving into the recipe, it's helpful to understand why pretzels require their distinctive preparation. The magic happens during the boiling step, where the dough is briefly immersed in water containing baking soda (sodium bicarbonate). When baked, this alkaline solution encourages Maillard reactions—chemical processes between amino acids and reducing sugars that create complex flavors and the pretzel's dark brown color.
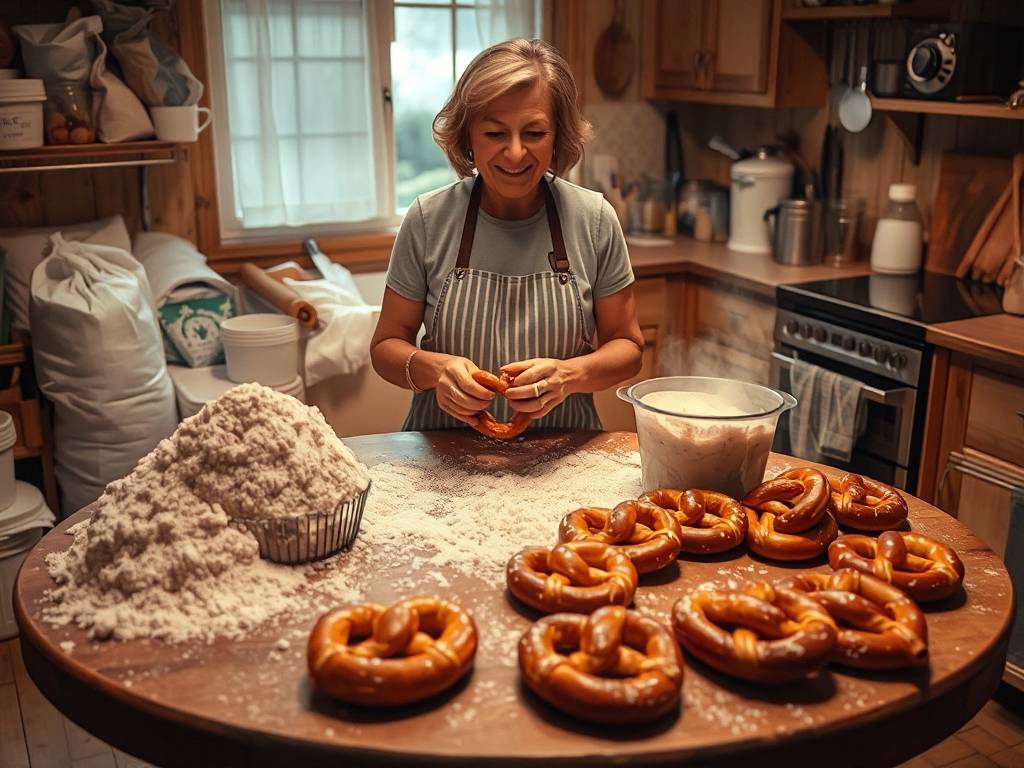
The boiling step also gelatinizes the starch on the surface of the dough, creating a barrier that helps retain moisture inside while allowing the exterior to develop a crisp crust during baking. This combination of factors produces the pretzel's unique texture: a slightly crisp exterior giving way to a soft, chewy interior.
Traditional German pretzels often use food-grade lye (sodium hydroxide) instead of baking soda, which creates a darker color and more pronounced flavor. However, baking soda offers a safer, more accessible alternative for home bakers while still delivering excellent results.
Ingredients and Equipment
Essential Ingredients:
- 4 cups all-purpose flour (500g)
- 1 tablespoon sugar (12g)
- 2 teaspoons instant yeast (7g)
- 1½ teaspoons salt (9g)
- 1½ cups warm water (350ml, approximately 110°F/43°C)
- 2 tablespoons unsalted butter, melted (28g)
For the Boiling Solution:
- 8 cups water (2 liters)
- ½ cup baking soda (96g)
For Topping:
- Coarse sea salt or pretzel salt
- Optional: melted butter for brushing
Necessary Equipment:
- Stand mixer with dough hook (optional but helpful)
- Large mixing bowls
- Baking sheets
- Parchment paper
- Slotted spoon or spider strainer
- Whisk
- Kitchen scale (for accuracy)
Step 1: Creating the Perfect Pretzel Dough
Mixing and Kneading
Begin by activating the yeast. In the bowl of your stand mixer or a large mixing bowl, combine the warm water (ensure it's not too hot, as temperatures above 130°F/54°C can kill yeast), sugar, and yeast. Let this mixture sit for 5-10 minutes until it becomes foamy, indicating the yeast is active.
Add the melted butter and salt to the yeast mixture. Gradually incorporate the flour, about one cup at a time, mixing continuously. If using a stand mixer, attach the dough hook and mix on medium speed for 5-7 minutes until the dough becomes smooth and elastic. For hand kneading, turn the dough onto a floured surface and knead for 8-10 minutes until it passes the "windowpane test": gently stretch a small piece of dough between your fingers; if it can become thin enough to be semi-transparent without tearing, it's properly kneaded.
First Rise
Form the dough into a ball and place it in a lightly oiled bowl, turning once to coat all surfaces. Cover the bowl with plastic wrap or a damp kitchen towel and let it rise in a warm, draft-free area for 1-1.5 hours, or until doubled in size. The ideal rising temperature is between 75-85°F (24-29°C). To test if the dough has risen sufficiently, gently press two fingers about an inch into the dough; if the indentation remains, it's ready.
Step 2: Shaping the Pretzels
Dividing and Preparing
Once the dough has risen, punch it down to release the air bubbles. Turn it onto a lightly floured surface and divide into 8-12 equal pieces, depending on your desired pretzel size. Roll each piece into a ball and cover with a damp towel to prevent drying.
Forming the Classic Pretzel Shape
Take one dough ball and roll it into a rope approximately 20-24 inches long. For uniform thickness, start from the center and roll outward, applying gentle pressure with your palms. If the dough resists stretching, let it rest for a few minutes; the gluten needs time to relax.
To form the pretzel shape:
- Hold the rope with both hands, forming a U-shape.
- Cross the ends over each other about two-thirds of the way from the tips.
- Fold the crossed section down to the bottom of the U.
- Gently press the ends onto the bottom curve to secure them.
Place the shaped pretzels on parchment-lined baking sheets, leaving enough space between them as they will expand during proofing and baking. Cover with a damp towel and let them rise for 20-30 minutes until slightly puffed. Meanwhile, preheat your oven to 450°F (230°C) and prepare the boiling solution.
Step 3: The Boiling Process
Preparing the Alkaline Bath
In a large, wide pot (a Dutch oven works well), bring 8 cups of water to a rolling boil. Carefully add the baking soda—it will bubble vigorously initially, so add it gradually to prevent overflow. Reduce the heat to maintain a gentle simmer.
Boiling the Pretzels
Working with 2-3 pretzels at a time, carefully lower them into the simmering water using a slotted spoon or spider strainer. Boil for 20-30 seconds per side—the longer the boil, the chewier the final texture and darker the color. Avoid overcrowding the pot, as this can lower the water temperature and affect cooking consistency.
Remove the pretzels from the water, allowing excess liquid to drain off, and return them to the parchment-lined baking sheets. While still wet, sprinkle generously with coarse salt, which will adhere to the surface.
Step 4: Baking to Perfection
Oven Preparation and Baking
Place the baking sheets in the preheated 450°F (230°C) oven. Bake for 12-15 minutes, rotating the sheets halfway through for even browning, until the pretzels are deep mahogany brown. The high baking temperature is crucial for achieving the proper texture and color development.
Cooling and Serving
Transfer the baked pretzels to a wire rack to cool for at least 5-10 minutes before serving. This resting period allows the interior to set properly. For added flavor and shine, brush the warm pretzels with melted butter.
Serve pretzels warm with mustard, cheese sauce, or simply enjoy them plain. They're best consumed the day they're made but can be stored in an airtight container for up to 2 days. To refresh day-old pretzels, briefly warm them in a 350°F (175°C) oven for 5-7 minutes.
Troubleshooting Common Issues
Dense or Tough Pretzels
This usually results from insufficient kneading or overproofing. Ensure you knead the dough until it passes the windowpane test, and don't let the shaped pretzels rise too long before boiling.
Pale Color
If your pretzels aren't achieving that characteristic deep brown color, your baking soda solution might not be alkaline enough. Ensure you're using the proper ratio of baking soda to water, and make sure the water is simmering properly before adding the pretzels.
Blistering or Irregular Surfaces
This can occur if the dough is overproofed or if the boiling time is too long. Stick to the recommended times for both proofing and boiling.
Creative Variations
Once you've mastered the basic pretzel, experiment with these variations:
- Cinnamon Sugar: After baking, brush with melted butter and roll in a mixture of cinnamon and sugar.
- Stuffeded Pretzels: Before shaping, flatten the dough and add fillings like cheese, chocolate, or sausage.
- Pretzel Bites: Instead of shaping into traditional knots, cut the dough ropes into 1-inch pieces before boiling and baking.
- Whole Wheat: Substitute up to half of the all-purpose flour with whole wheat flour for a nuttier flavor.
Conclusion
Making pretzels from scratch is a rewarding process that combines the science of baking with the art of shaping. While the triple-step method requires more effort than standard bread recipes, the exceptional results are well worth it. The distinctive chew, glossy crust, and complex flavor of homemade pretzels far surpass anything available commercially.
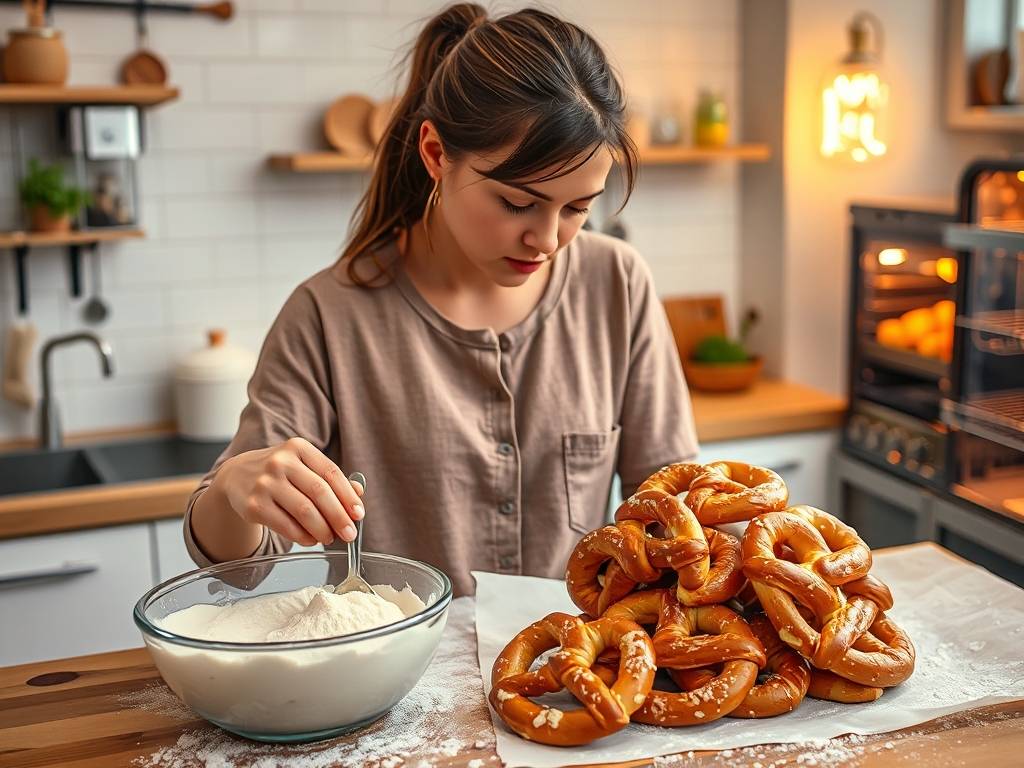
Don't be discouraged if your first attempt isn't perfect—pretzel making improves with practice. Each batch will teach you more about dough consistency, shaping techniques, and timing. Soon, you'll be able to customize recipes and develop your signature pretzel style.
The process of creating pretzels connects us to baking traditions that span centuries and continents. From their probable origins in European monasteries to their current status as American snack icons, pretzels have maintained their appeal through the simple combination of flour, water, yeast, and that magical alkaline bath. By mastering this technique, you join a long line of bakers who have transformed basic ingredients into something extraordinary.




发表评论